Table of Contents
- Steps for cleaning the headset earmuffs
- Benefits of cleaning headset earmuffs
- Effects of dirty earmuffs on hearing and health
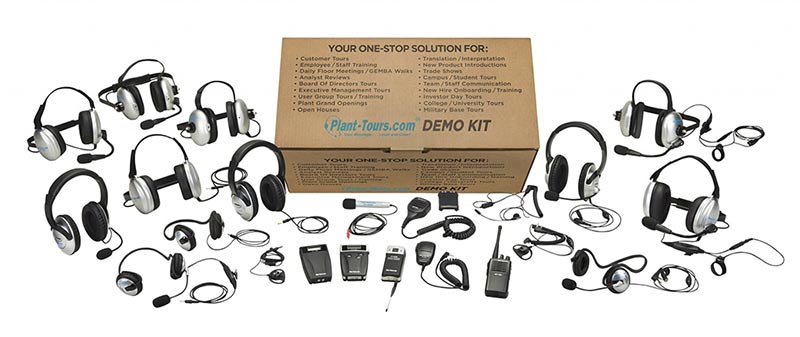
Earmuffs are a universal type of hearing protector designed to safeguard your ears from things like extreme weather, dirt, and/or excessive noise. Naturally, they come in all shapes, sizes, and colors. While cleaning your basic run-of-the-mill winter earmuffs can be as simple as throwing them in with the rest of your laundry, maintaining clean headset earmuffs can actually be quite a delicate art.
We’ve compiled a simple step-by-step guide on how to properly clean headphone pads (and/or earmuffs) the right way below. Following it will help ensure any headset stays in top-notch form — no matter where, how, or how often you use it.
Steps For Cleaning the Headset Earmuffs
Step 1
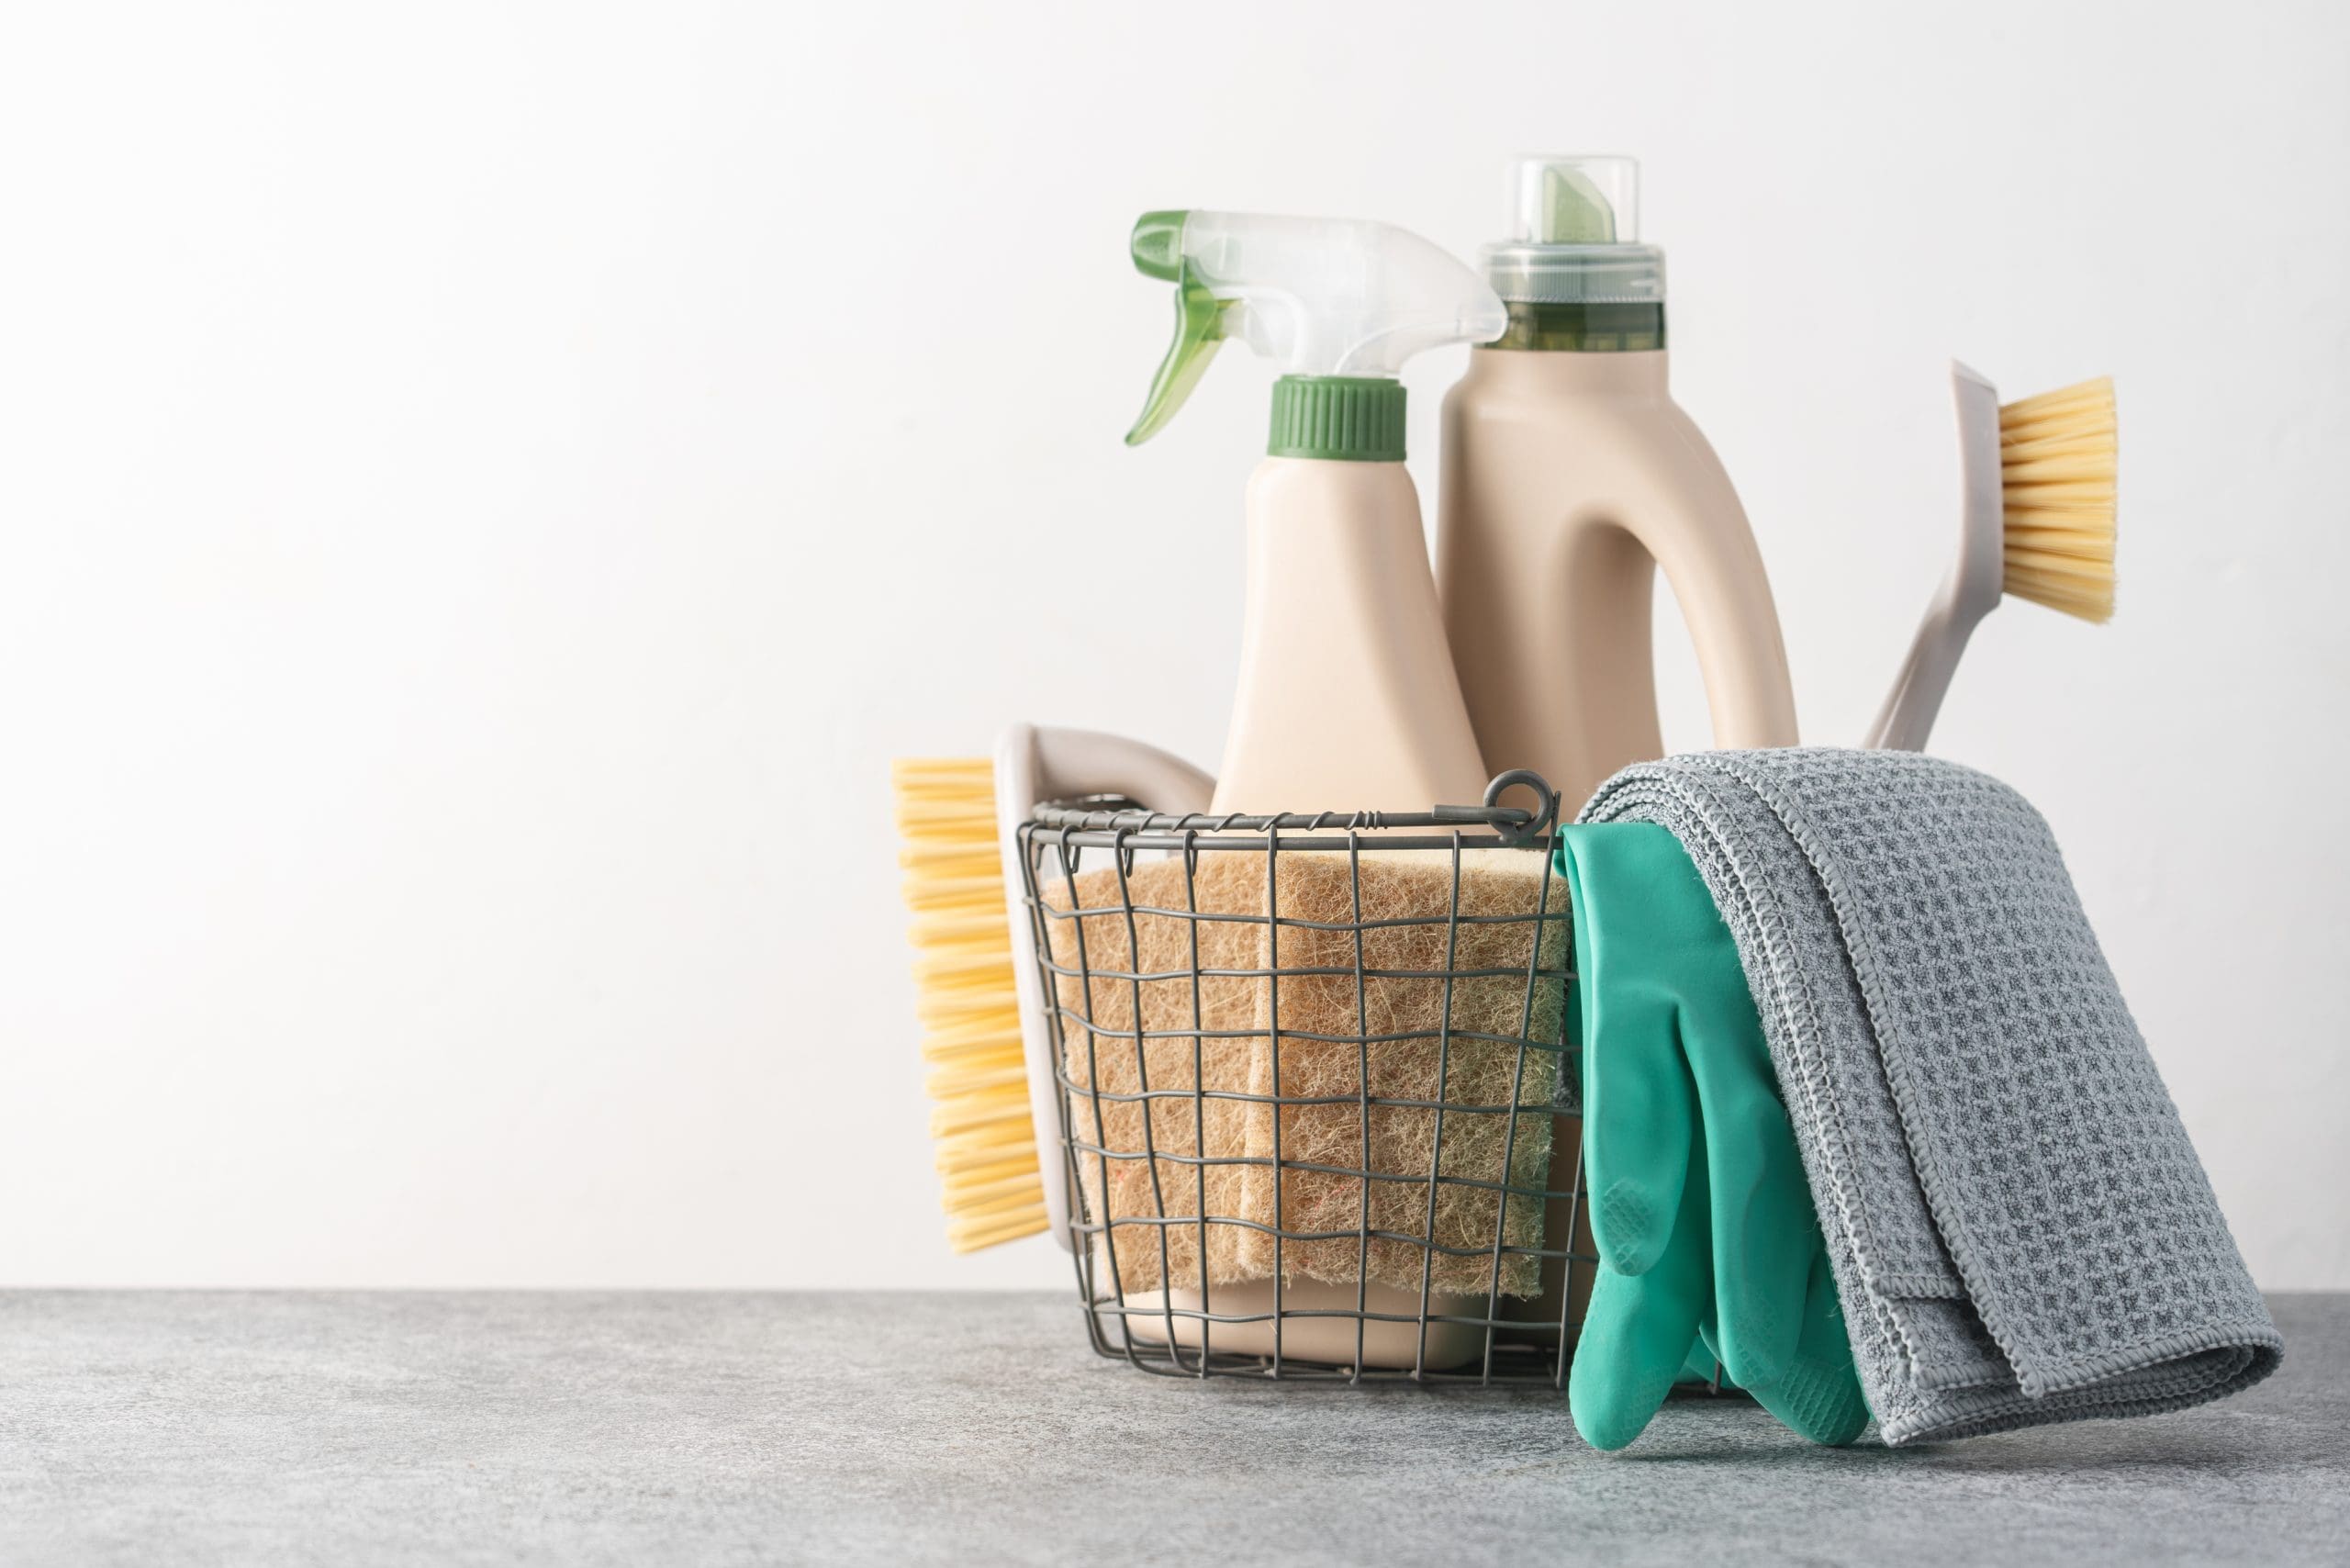
First, you want to make sure you have the proper cleaning supplies. No pair of earmuffs is ever the same — but, in general, you’ll need at least some of the following:
- a few small clean microfiber cloths
- Q-tips and cotton swabs (aka cotton buds)
- rubbing alcohol or any disinfectant spray
- warm water
- isopropyl alcohol
IMPORTANT: Never use cleaning sprays, solvents, and/or bleach. And never submerge your headset/earmuffs in water.
Step 2
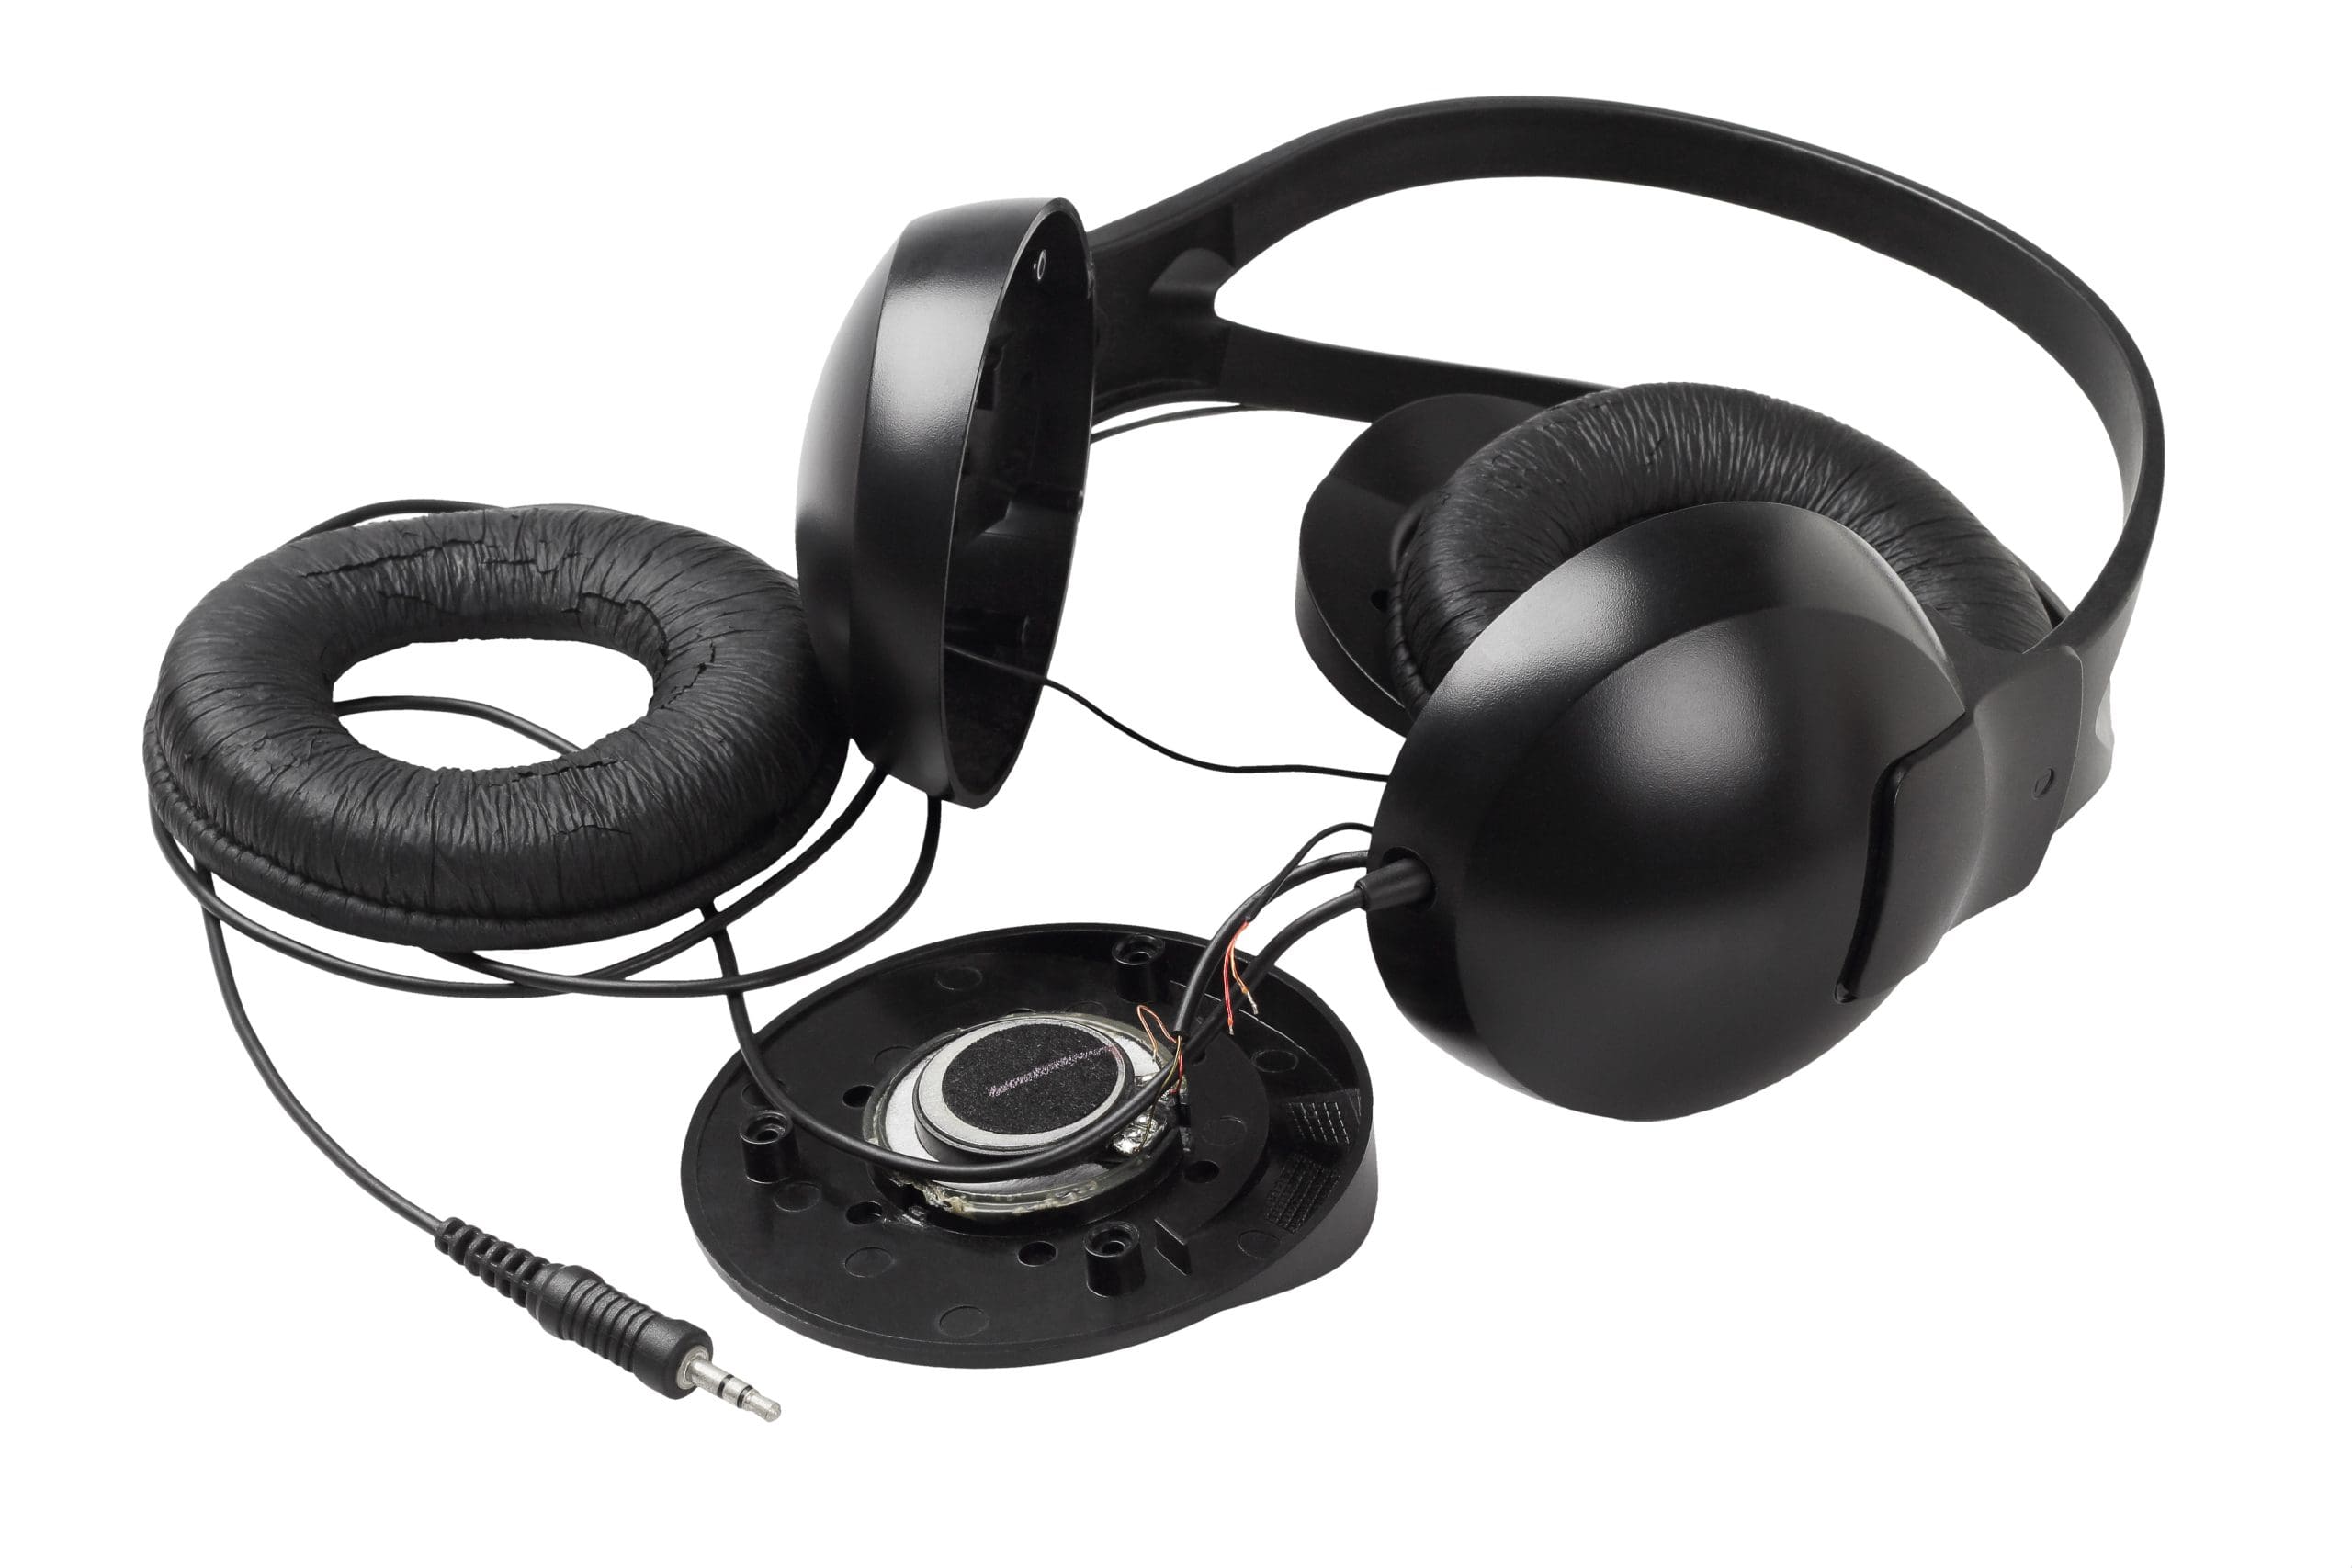
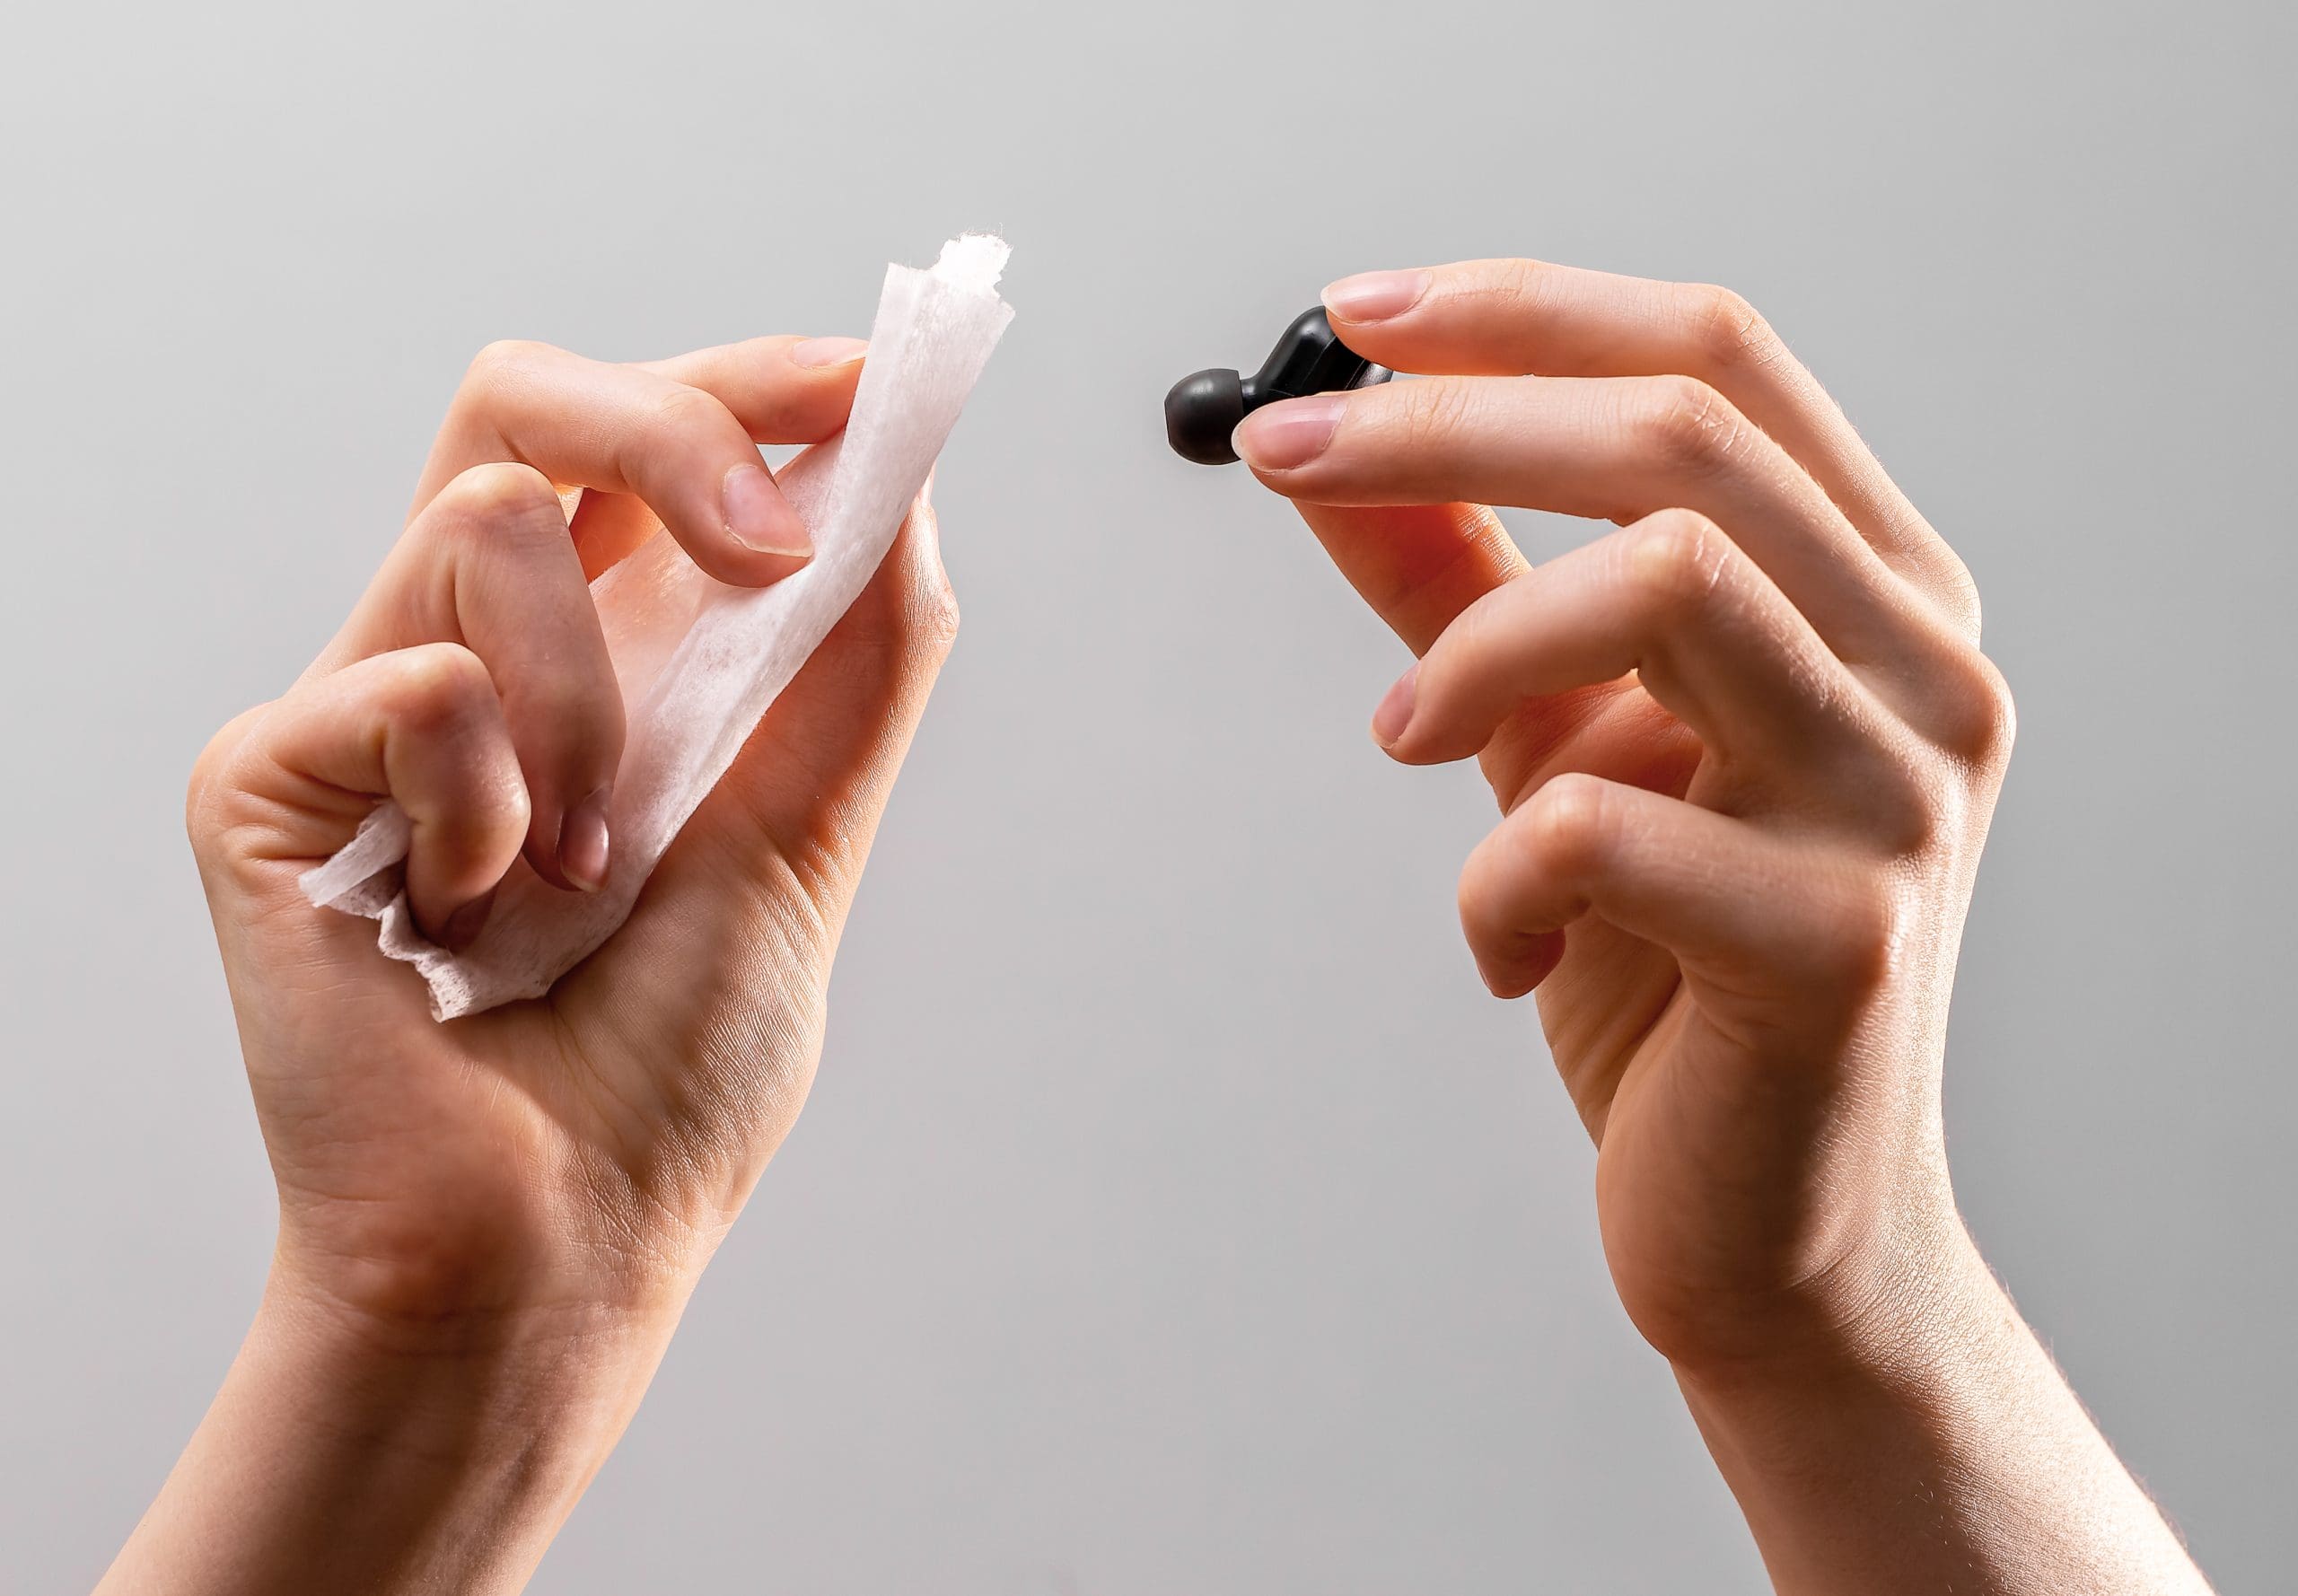
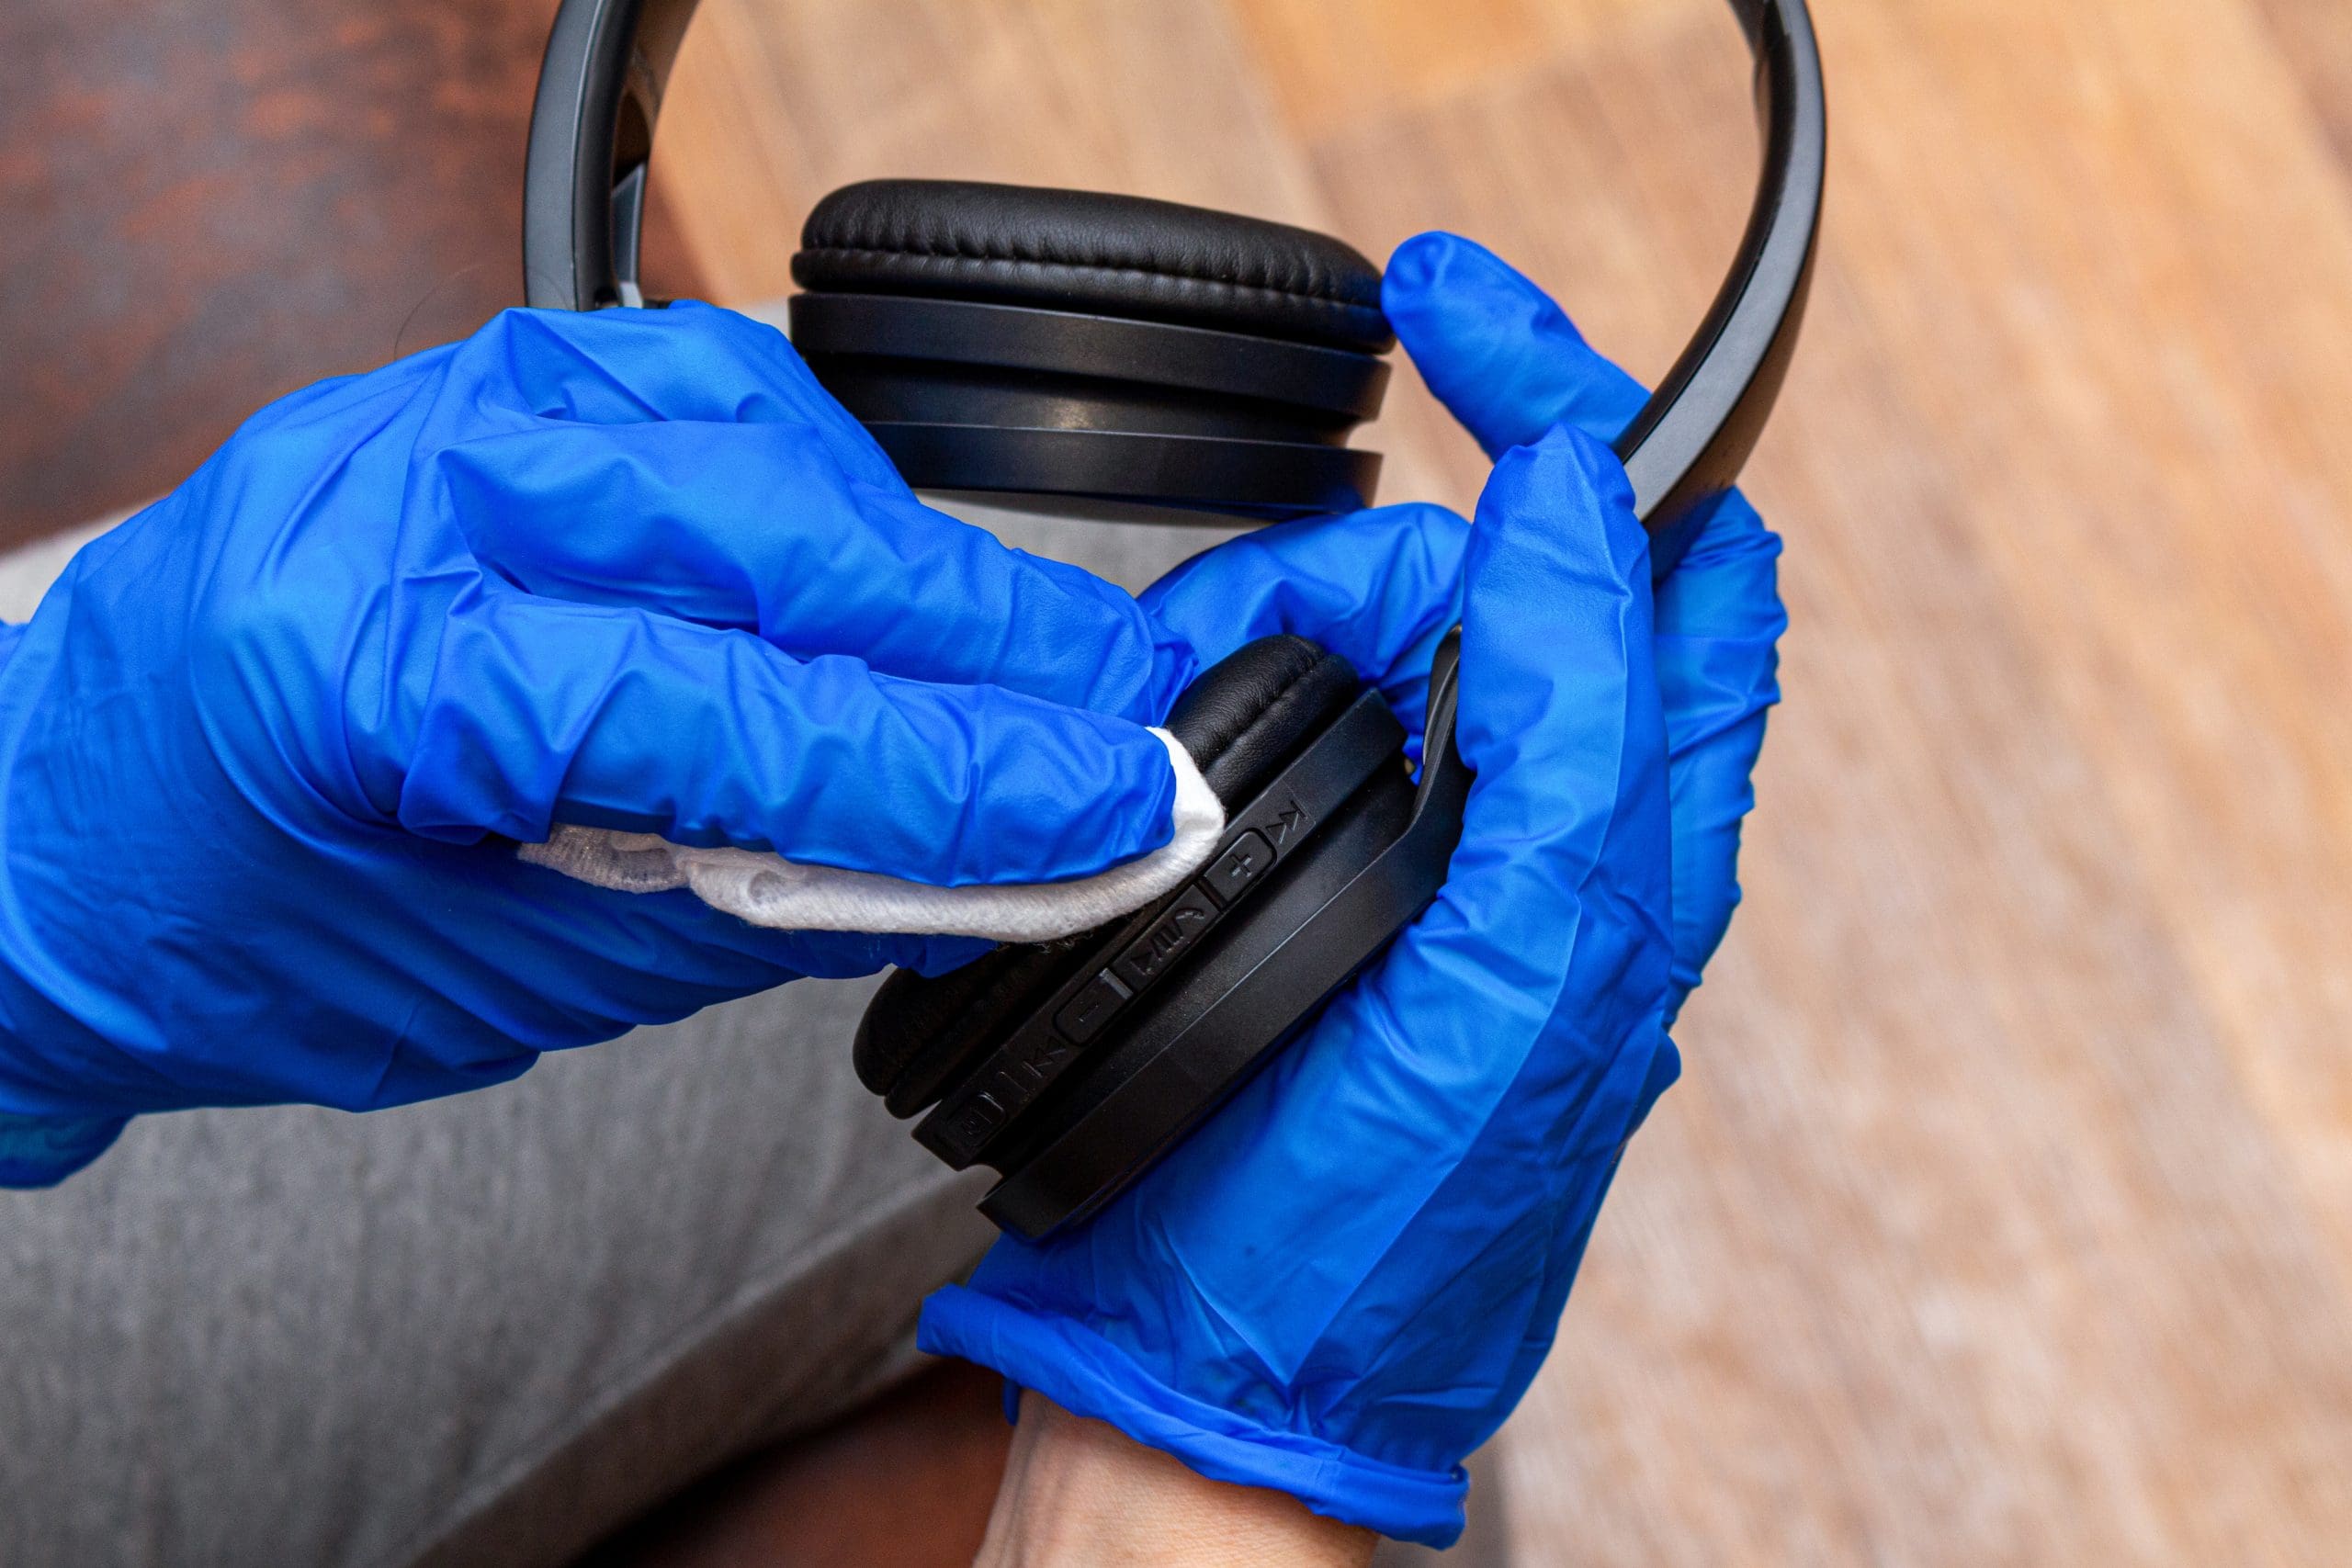
When starting out you’ll want to choose a sanitary, uncluttered, well-lit workspace. Make sure there is no dust, and that there is plenty of clean surface space. Wipe down each part of the headset with a clean, dry cloth. Pay attention and take your time — especially when wiping the smaller/more delicate parts. You can also gently blow on certain areas to remove excessive dust and particles. To get to some of the smaller, trickier crevices, use a toothbrush, Q-tips, and/or cotton swabs. These will help remove ear wax build-up, grime, dust, and anything else you might find. It’s important to be gentle. You don’t want to clog anything and/or damage any electronic components.
Step 3
Once you’re removed excess dirt, gently wipe down each individual piece with a damp cloth. For the headband and any other outer components, you can use warm, slightly soapy water (or a mild detergent). A bit of rubbing alcohol and/or hydrogen peroxide are also great sanitizers. A cloth dipped in a small amount of isopropyl alcohol is a great way to get rid of any unpleasant odors. Be extra careful with the parts that have direct contact with your ears. Be sure not to get any liquid and/or push any persistent debris inside the ear cups (and/or any crevices).
Step 4
Finally, carefully wipe the headset thoroughly with a clean, dry cloth. Make sure there is no residue from the chemicals, and that none of the equipment is either wet or damp. You can also use a leather conditioner to help keep any leather soft and prevent the pads and/or earmuffs from cracking and peeling. But don’t overdo it. Too much conditioner will cause damage over time.
Essentially, that’s it. Your headset should now be looking, smelling, and working like new. Reassemble all the parts carefully, and you’re good to go.
Benefits of Cleaning Headset Earmuffs
The benefits of properly maintaining a clean headset can not be overstated. First off, cleaning your headset on a regular basis will help ensure it stays in good condition and in working order longer. But it is also vital if you use them on a daily basis, work in a dusty or otherwise messy environment such as a factory, and/or if the headsets frequently exchange ears (when used for tours, for example). No matter the setting, clean headphone muffs will ultimately mean optimal performance, top sound quality, and a safe and clean ear for everyone involved.

Effects of Dirty Earmuffs on Hearing and Health
Wearing dirty earmuffs, on the other hand, can lead to a number of serious issues like improper communication, workplace accidents, and even hearing damage or loss. For example, seldom-cleaned earmuffs and/or earplugs can cause impacted earwax (i.e., excessive earwax build-up). Impacted earwax causes insidious damage to your ear canal over time. And, if untreated, this damage can be permanent. Moreover, dirty earmuffs can prevent your headset from properly functioning in general — i.e., isolating or reducing noise levels, keeping your ears warm, and so on. This can lead to a whole array of problems, not just for your ears.
In other words, protective and/or communication headset earmuffs are crucial when working in high-noise and/or extreme environments. Properly sanitizing them is equally crucial to protecting your and your team’s overall health, and making sure that everyone is safe at the end of the day.